Behind the Scenes: Baby Countdown Blocks
A large backyard art studio sounds amazing, but for now I am creating in my small NYC apartment at my kitchen table...

You have to work with what you have available, and in NYC, a spacious studio is not readily available....
But, nevertheless, I wanted to invite you to have a seat at my table as I work on my newest listing-

Since I first listed it on my shop a little over a year ago, it has remained my best seller! With this handmade block set, expectant moms can countdown the weeks until their due date. Having this set prominently displayed helps you share your anticipation with others as well! Many moms also choose to use them as decor at baby showers and pregnancy photo props.
Each block is made from solid American basswood and hand sanded for smooth edges. The base block measures 4 inches x 2 inches, and the number blocks are 2 inches x 2 inches.
So... how exactly are they made?
1. Prepping the Blocks
Each block is sanded, and either stained or painted, depending on the desired result. This set was stained with Minwax Cherry Wood Stain. The hard part is waiting several hours for the blocks to dry completely afterwards!


2. Choosing the Paper Patterns
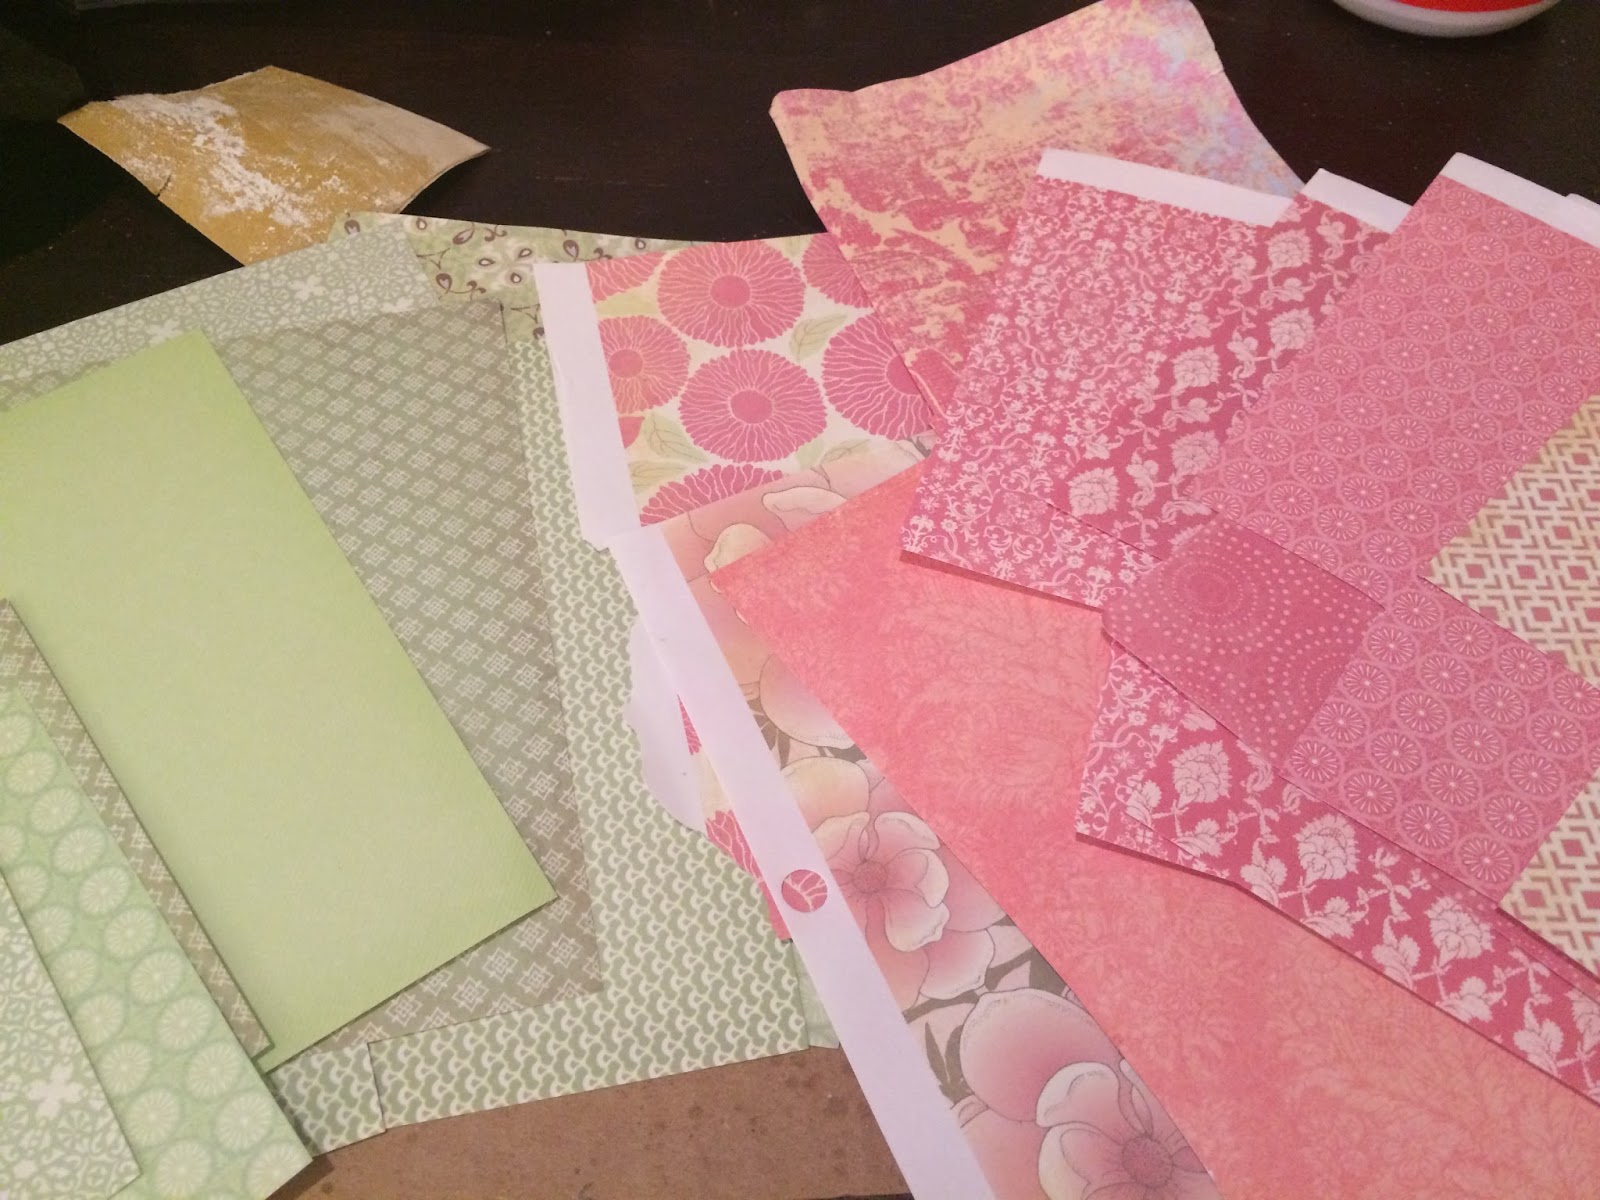
After the blocks are completely dry, the next step is to choose the papers to decorate the sides with. In many ways, this is the most important part as you want to choose colors that will go well together, no matter which sides are being used. Here, there can be almost endless variety and options for the customer. Gender neutral colors? Matching with the nursery theme? With this set, we chose an antiqued pink and green scheme.
3. Decoupaging.
After the paper pattern has been chosen for each side, I cut the paper to fit each side (often a tedious process...) and then I use decoupage to glue the paper squares to the block. As you can see in the picture, I use Plaid's Gloss Mod Podge (c). The decoupage should be put down in a thin, even layer before settling the paper on it. Once it dries, it is difficult to remove.

4. Lettering.
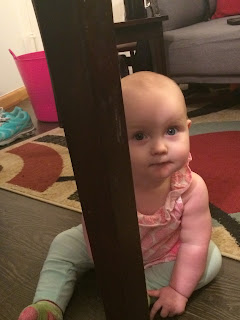
We are almost done! Each block is then numbered. ( This set counts down from 32 weeks.) I do all of the wording and numbers by hand. I believe it is better quality than using vinyl stickers. The trickiest part of this step is keeping my kiddos from bumping the table while I'm writing! (To see just what I'm dealing with in this area, see the last photo...)

5. Finish the blocks with clear varnish.
After everything has dried, the last step is to seal the papers and wood with DuraClear Satin Varnish from Americana (c). This is a nontoxic, clear sealant that keeps your blocks safe and easy to clean with a damp cloth as well!
And there you have it! From start to finish (not including the drying and curing process) this set took about 3 hours to create. But it can be used for years to come as you celebrate your growing family!
We also have a set just for expectant grandparents as well! Check it out here.
Thanks for stopping by to see how this popular item is made!
And just watch your step as you leave, since "under the table" is my daughter's new favorite spot to hang out!


Comments
Post a Comment